Docker Express
Docker is a container platform. There is a desktop version of Docker available for Windows and macOS. This tutorial will assume the use of one of those versions and explain how to use Docker to do two things:
Get your own copy of our VOD demo environment up and running
Quickly set up your own Live teststream using Unified Origin
Prerequisites of VOD and Live demos
The VOD and Live tutorials have three requirements in common:
An evaluation license key, which can easily be obtained after registration
A working copy of Docker, installed on the system that will act as the host
Internet access on host through ports 53 and 80; needed to check license key
How to fulfill the first two requirements will be covered below and more specific info about the third requirement can be found here. The actual tutorials can be found further down below, at Your own Video on Demand demo and Your own Live streaming demo.
Installing Docker
First, download Docker's installer for your platform.
Assuming you are using a desktop machine, once installed and started you will see the Docker logo in your taskbar or system tray indicating Docker is running.
After having installed Docker, there are two routes to getting a container with Unified Origin to run. The quickest method uses a prebuilt image from Docker Hub. This tutorial will make use of this method.
A more elaborate but more flexible method makes use of images that you can build yourself, with Alpine Linux packages of Origin and Packager that we provide. How these images can be built is explained at the end of this tutorial.
Using Docker Hub images
Docker Hub is a centralized platform that hosts a wide range of image repositories that can be run with a simple Docker command. There are prebuilt images available on Docker Hub of both Packager and Origin.
For the purpose of this tutorial we will be using two different images of Unified Origin (one for VOD, the other for Live). Both of these images already contain the Apache webserver installation that is required to run Unified Origin. A third docker image will be mentioned including Manifest Edit functionalities: this is basically the Origin VOD image, with a slightly different apache configuration. If you would like to, Creating your own Docker images is possible as well.
Obtaining a license key
If you have made sure that you have a license key, you can move on to the next step.
Your own Video on Demand demo
Apart from a valid evaluation license key and a working copy of Docker, you will need to download specfic demo contents to get your own copy of our VOD evaluation environment up and running. This content is free to use and is provided for download by us.
Downloading VOD contents
For the demo content, download below file:
http://repository.unified-streaming.com/tears-of-steel.zip
After you have downloaded the file, extract it to a directory with the name
tears-of-steel.
You should now have a directory called tears-of-steel, which contains the
demo files (see Verify Your Setup for an overview of the media
content).
Running the demo using Docker
Now that all the prerequisites for the VOD evaluation environment are in place, you can run the Docker command below to create an Origin demo container.
Please use a localhost port that is available on your host. In the following
example the first port 80 is the port of the host's machine and the second port
80 is the Apache port in the container. Run the command in the
tears-of-steel directory:
#!/bin/bash

# Replace <your_license_key> with your actual license key, not a path:
export USP_LICENSE_KEY=<your_license_key>

docker run \
  -e USP_LICENSE_KEY=${USP_LICENSE_KEY} \
  -v ${PWD}:/var/www/unified-origin \
  -p 80:80 unifiedstreaming/origin:latest
Using the VOD demo
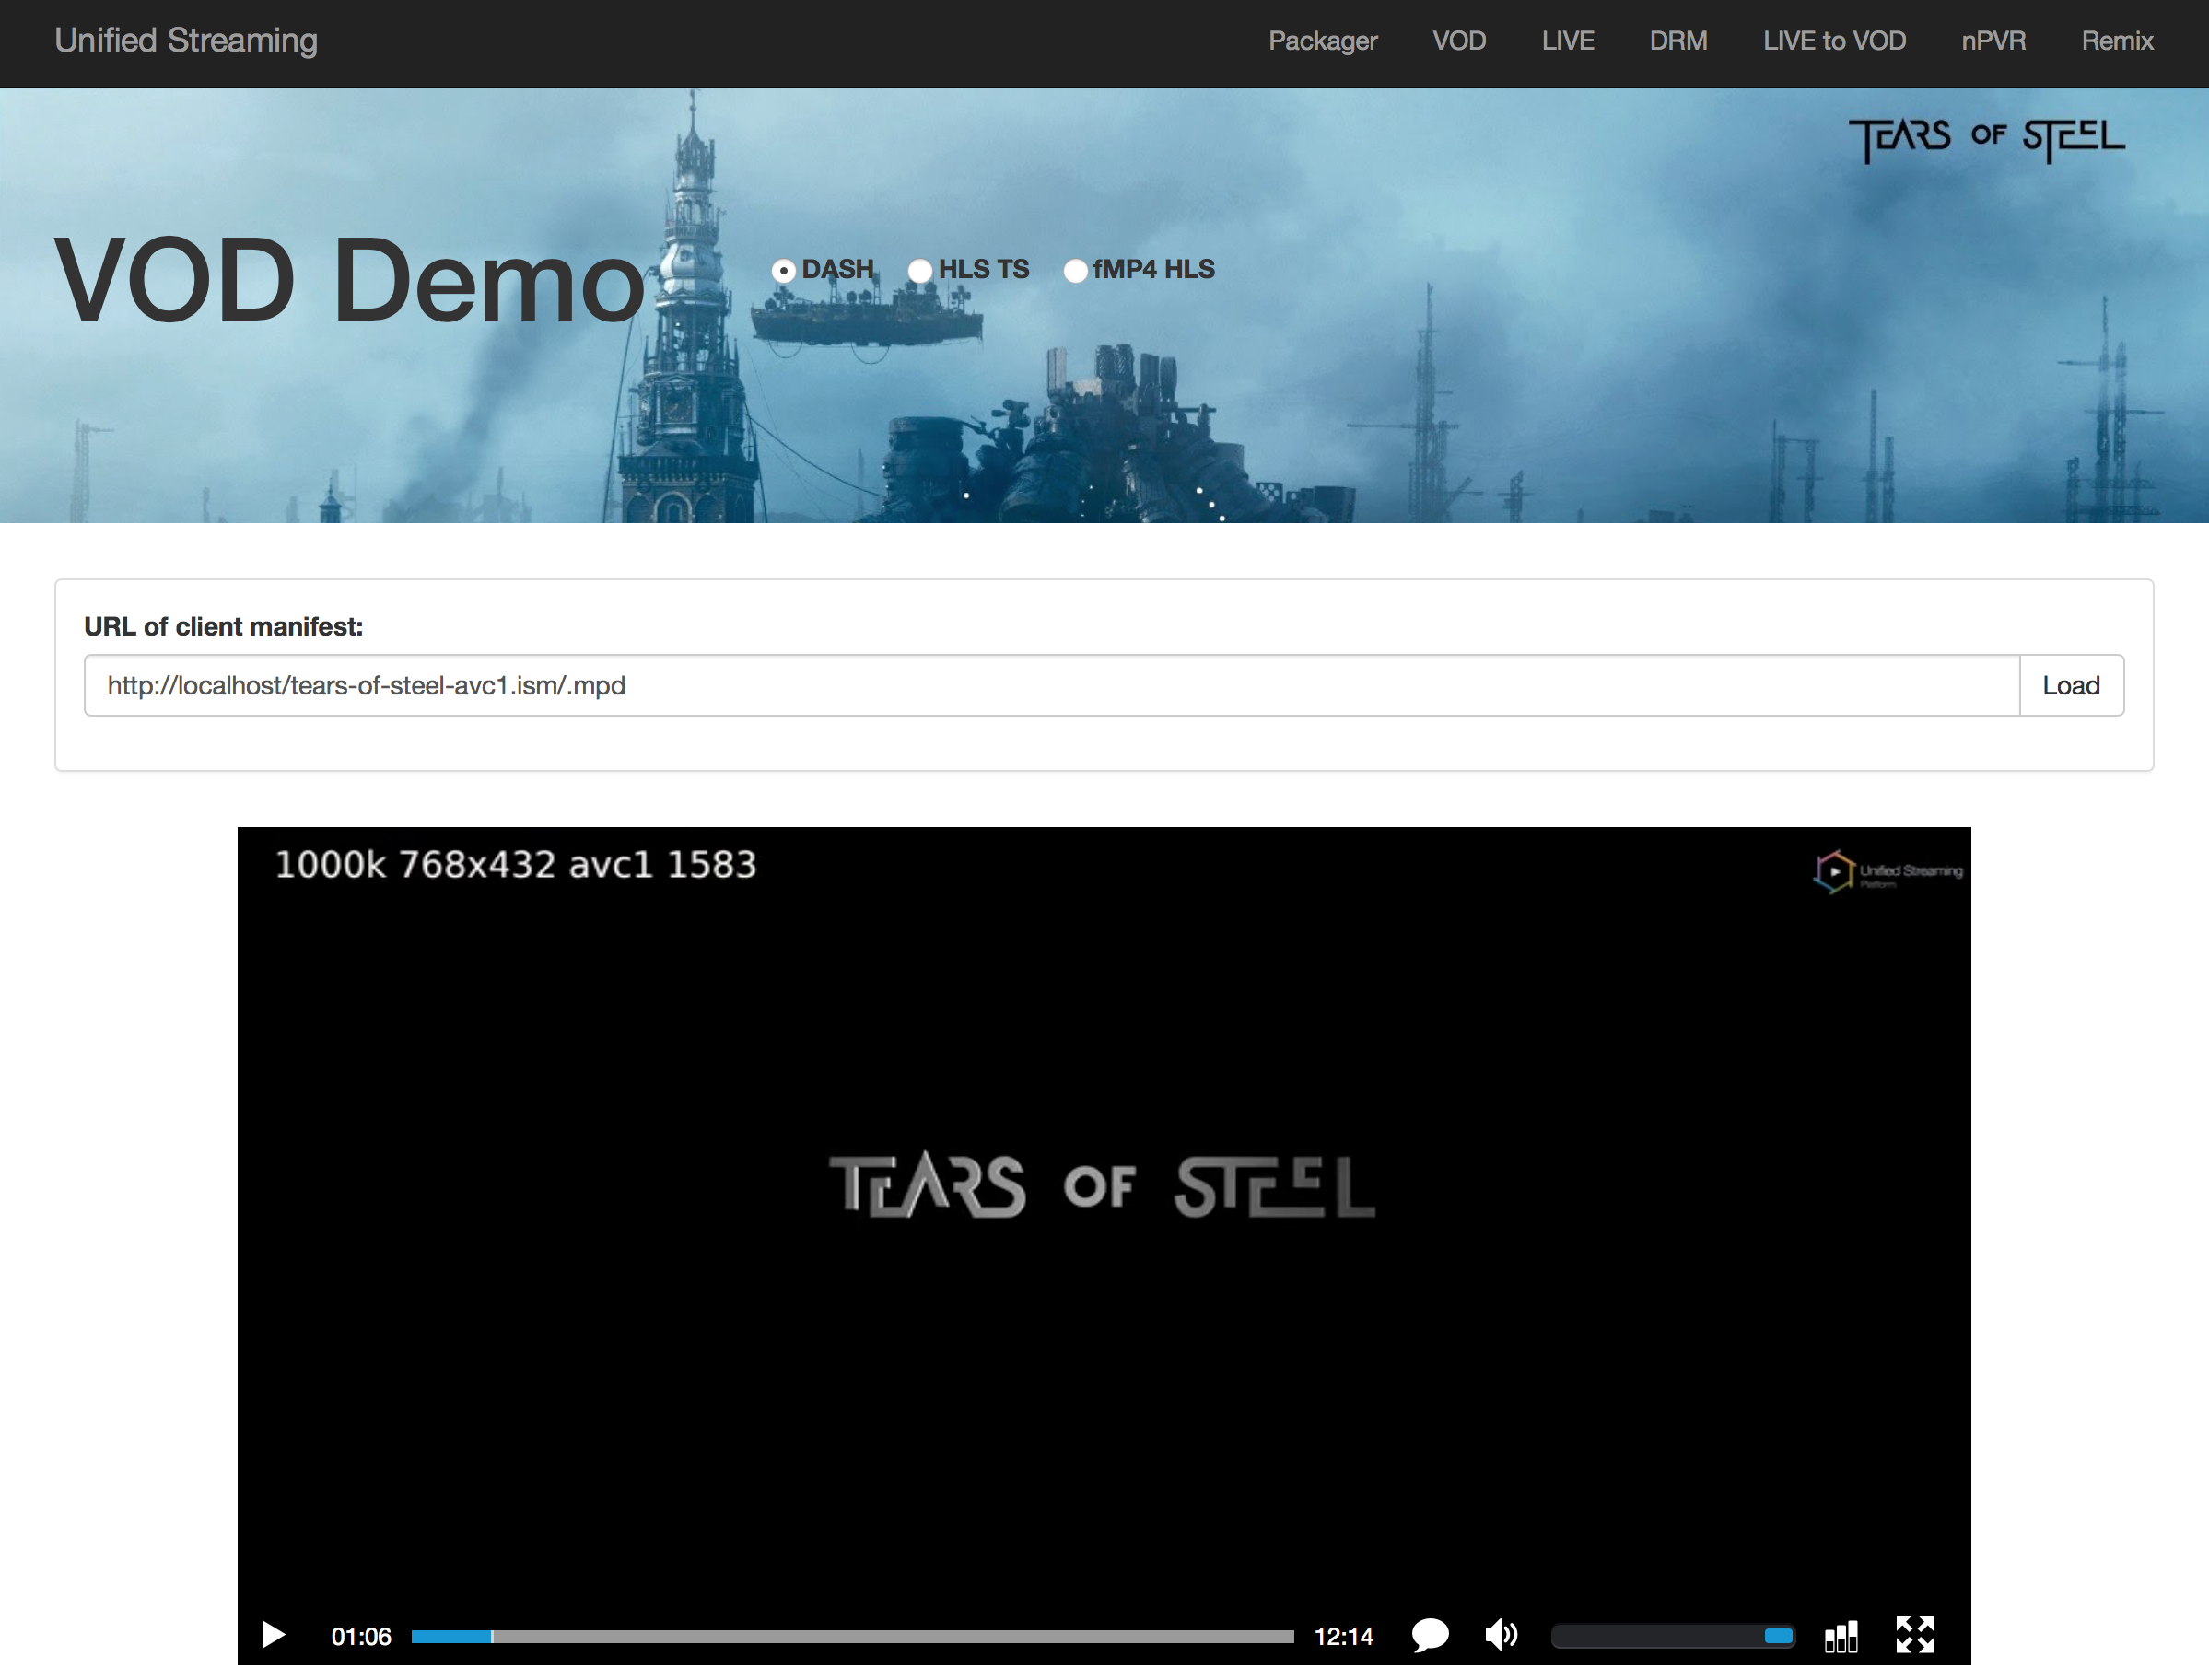
When the container launches and starts running, use your browser to load your
localhost on the port you have specified, e.g. localhost:80. You will see a
simple 'VOD Evaluation demo' page with the DASH reference player that
automatically loads a stream based on the Tears of Steel content that you
downloaded. If your browser has native support for it (i.e., Safari or Edge),
you can also switch to HLS TS or fMP4 HLS as the playout format:
Note
If you run the Docker container in a terminal window, make sure that you do not resize it because that will cause Apache to shutdown.
Creating your own streams
To create other streams based on the Tears of Steel content that you have downloaded, you can use our Unified Packager Docker container. Running it works very similar to running the Unified Origin container.
The basic command looks like this, where instead of $@ you should specify
all the options and input files that you want to use (as shown in the working
example further down below). Run the command in the directory where your input
files are located:
#!/bin/bash

# Replace <your_license_key> with your actual license key, not a path:
export USP_LICENSE_KEY=<your_license_key>

docker run -it -w /data/ --rm \
  -e USP_LICENSE_KEY=${USP_LICENSE_KEY} \
  -v ${PWD}:/data \
  unifiedstreaming/mp4split:latest \
  $@
For example, to generate a server manifest (.ism) that will allow you to
stream the HEVC encoded Tears of Steel content in a 4K resolution, run the
following command in your tears-of-steel directory:
#!/bin/bash

docker run -it -w /data/ --rm \
  -e USP_LICENSE_KEY=${USP_LICENSE_KEY} \
  -v ${PWD}:/data \
  unifiedstreaming/mp4split:latest \
  -o tears-of-steel-hvc1.ism \
  --hls.client_manifest_version=4 \
  tears-of-steel-aac-64k.mp4 \
  tears-of-steel-aac-128k.mp4 \
  tears-of-steel-ac3-448k.mp4 \
  tears-of-steel-hvc1-1100k.mp4 \
  tears-of-steel-hvc1-1500k.mp4 \
  tears-of-steel-hvc1-2200k.mp4 \
  tears-of-steel-en.cmft
Now, presuming that you have your Unified Origin container running on port 80, you can play the stream by pointing the input field on your VOD Demo page to the correct DASH client manifest:
localhost/tears-of-steel-hvc1.ism/.mpd
Note
When creating a server manifest (
.ism), MP4 is the only supported input format (.mp4,.ismv,isma,ismt,.cmfv,.cmfaandcmft).The evaluation license used for the demo allows you to play out streams in all formats, but does not allow you to use Unified Packager for other purposes than to create a server manifest (and test AES-128 encryption for HLS TS, as documented in HLS with Transport Streams (TS)).
If you would like to test options that are not supported by the evaluation license (like DRM), please contact sales: sales@unified-streaming.com.
Manifest Edit
The Origin Docker Hub image includes Manifest Edit functionalities.
You can enable example use case by adding to any /.mpd or /.m3u8 url a query parameter passing a pipeline name, which will generate an "edited" manifest. Following the previous example using the VOD content pack and assuming your Tears of Steel DASH manifest is available at:
localhost/tears-of-steel-hvc1.ism/.mpd
an example of Manifest Edit invocation for, i.e. the utc_add use case
is:
localhost/tears-of-steel-hvc1.ism/.mpd?python_pipeline_config=mpd/utc_add
Please refer to our Origin Github README file for a complete list of included example Use Cases, as well as for instructions on how to create your own.
Your own Live streaming demo
Using a slightly different Docker setup, it's possible to set up a live streaming environment easily. Assuming you have an evaluation license key, this guide will let you do the following:
Start a Unified Origin container that hosts a publishing point
Build and start a container that runs FFmpeg
Make the FFmpeg container push a livestream to the Origin's publishing point
To be able to do this, a working installation of Docker Compose is a required. If you're running a recent version of Windows or macOS, Compose should be part of your standard Docker installation. If you're running Linux, this will not be the case.
To check whether Compose is installed, run the command below. If you have a working copy installed, the command will return some basic documentation. For more information on installing Docker Compose, consult the Docker Compose installation documentation.
docker-compose
In addition to having Docker Compose installed, you will need a properly configured Compose file. You can download it from our Github repository: Live Origin demo Compose file.
One other thing that you need to do before you can run your own Live streaming demo, is to store your license key in an environment variable. The Compose file specifies a variable for this and by storing your license key in that variable, you will ensure that Docker Compose will pass the key to the Unified Origin container (which will not run without it). To store your key in the correct variable, use the following command (replace <your_license_key> with your actual license key, not a path):
#!/bin/bash

export USP_LICENSE_KEY=<your_license_key>
Finally, with the environment variable and the Compose file in place, you can run the Live streaming demo using the following command in the directory of the Compose file:
docker-compose up -d
Warning
As this demo requires a patch to add functionality to FFmpeg for improved live streaming, the FFmpeg container will be built locally the first time (using our FFmpeg Dockerfile). This process takes about ten minutes.
Of course, you can edit the Compose file to your liking. By adding or changing some of the publishing point options, for example. Consult VOD and Live as well as Live only for all of the possible options.
If you're done testing and want to stop (and remove) the Live Origin and FFmpeg
containers, and also remove the related networks and images that were created
using the docker-compose up command, you can run the following command
(in the directory of the associated Compose file):
docker-compose down
But beware: because the above command will remove the locally built image of the FFmpeg container, you will need to rebuild it in case you want to run the demo again.
Testing the livestream
To test live playout, you can use any of the following URLs. In case you altered the Compose file and bound port 80 of the Unified Origin container to a different port on your host, please make sure to reflect that change in the URLs below:
Local playout URL |
Streaming protocol |
|---|---|
localhost:80/test/test.isml/.mpd |
MPEG-DASH |
localhost:80/test/test.isml/.m3u8 |
Apple's HLS |
localhost:80/test/test.isml/Manifest |
Microsoft's Smooth Streaming |
localhost:80/test/test.isml/.f4m |
Adobe's Dynamic Streaming |
Important
The above is a rudimentary test setup. In real world scenarios you should always configure a hostname for the server that runs Unified Origin: Configure a hostname for Unified Origin.
Using a different source
Only starting the Live Origin (and not the FFmpeg container) is possible as well, by specifying the service in the Docker Compose command:
docker-compose up live-origin
You can check the state of the publishing point using the following URL, as detailed further in Retrieving publishing point information. Assuming you have not started pushing any content to the publishing point, its state should be 'idle'. When you do push content to it, it should become 'started'.
localhost:80/test/test.isml/state
Creating your own Docker images
To create your own images for use with Docker, you need our Alpine Linux packages of Origin and Packager. Using a Dockerfile, you can instruct Docker to fetch these packages from our repository, similar to the install procedure Add repository on Alpine.
To install both packages, your Dockerfile should contain the following commands:
# Get USP public key
RUN wget -q -O /etc/apk/keys/alpine@unified-streaming.com.rsa.pub \
http://stable.apk.unified-streaming.com/alpine@unified-streaming.com.rsa.pub

# Install Origin
RUN apk --update add mp4split mod_smooth_streaming apache2 --repository \
http://stable.apk.unified-streaming.com/alpine/VERSION
Note
Please see End Of Life for which versions of Alpine are available.
The first command fetches and installs the public key to validate the repository contents.
The second command installs the Packager and the Origin. Both are required for the Origin to function.
To build the image you can do the following:
#!/bin/bash

cd <path>/<directory-containing-your-dockerfile>

docker build -t <your-repository-name>/origin .
This will install the latest public release of the software, of which you can check the release notes kept here.
Note
For reference, have a look at the Dockerfile of our Unified Origin container, as well as its entrypoint.sh script and Apache configuration. Note that the Apache configuration contains 'LOG_FORMAT' and 'LOG_LEVEL' variables that are replaced by the entrypoint script, based on environment variables that are passed to the container when running it.